As digital photography has rapidly increased in popularity in recent years, so have advanced photographic techniques such as High Dynamic Range Imaging, commonly known as HDR. Digital cameras are limited in the range of light intensity they can handle in a given scene. Situations with both very bright and dark areas will exceed the dynamic range capability of the camera sensor. This requires the photographer to decide whether to expose for the dark areas and blow out the light areas, or to expose for the light areas and lose detail in the dark sections of the image. In short, they have to make a compromise and choose to preserve detail in some areas of the photo, and allow it to be lost in other areas. HDR seeks to overcome this issue by allowing for a wide dynamic range within one photograph.
The wide dynamic range in an HDR image is created by taking multiple images of the same scene at different exposures, and then using a special software application to merge them in a manner that contains the full dynamic range that was actually present. The more images taken, varying from highly underexposed to highly overexposed, the better the HDR created from those photos will likely be. The overexposed shots will capture the detail in the shadows, while the underexposed ones will get the detail in the bright areas that would normally become blown out.
There are many HDR applications on the market today. Apparently Adobe noticed the popularity of specialized HDR software, because they greatly improved Photoshop’s HDR image creation capabilities with the release of Photoshop CS5 in late May 2010. Photographers who use Photoshop as their primary photo editing application might well choose to keep their workflow completely within Photoshop now, even when working with HDR.
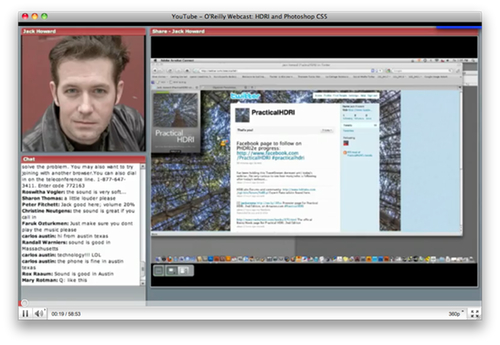
About a month after Photoshop CS5 was released, MyMac.com presented me with the opportunity to attend and review a webcast on Photoshop CS5 HDR Imaging held by O’Reilly Media. O’Reilly is a technology training company that publishes books and holds seminars, webcasts, conferences, and other events on a wide variety of topics such as computer technology and photography. The webcast featured photographer and author Jack Howard, who has written such books as Practical HDRI: High Dynamic Range Imaging for Photographers. Because I was already interested in learning more about Photoshop CS5 and HDR in general, I was interested in seeing what new information I could obtain from O’Reilly’s webcast on HDRI and Photoshop CS5.
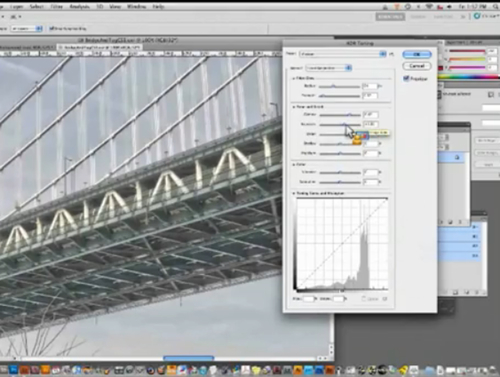
The webcast covered the HDR creation process from beginning to finish. First Jack talked about how to photograph scenes with the intent of making an HDR image. He covered how to select images in Adobe Bridge, and how to use the Merge to HDR Pro function to merge them into one high dynamic range image. From there, Jack showed how to tone map the image into one whose dynamic range could be properly displayed on a computer monitor, or in print, while keeping the additional detail contained in the HDR photo. It’s a very simple process, and one with few variables.
In fact, although the webcast was roughly an hour long, only the first 30 minutes were presentation, and the second half was questions and answers. When creating HDR images in Photoshop, the bulk of the work is in the tone mapping process. This is where the most manipulation can be done on the final product. Tone mapping can be used to create a photorealistic product, which looks like something you would see with your eyes, or it can be used to create a grungy, hyper-detailed picture with surreal colors and edge glow around everything in the photo.
Jack spent a few minutes showing how different settings would affect the final image. You can remove ghosts, which happens when things move between bracketed images, such as leaves blowing in the wind. You can work with edge glow, gamma, exposure, detail, highlight, and shadow adjustments. There are sliders for vibrance, saturation, and a toning curve adjustment tool.
Photoshop CS5 is far ahead of previous versions for controlling the output of HDR creation. Even so, it’s not as flexible as some competing products, such as Photomatix and HDR Expose. While I felt that the presentation could have spent more time on each of the settings available, in truth it simply takes a little experimentation with each to start learning how the photo will be affected.
One thing I really like about Photoshop CS5’s HDR Pro function is that it’s relatively easy to create nice subtle photorealistic images that look much more like the eye would have seen than the comparably narrow range camera sensor. I’m not a fan of unrealistic, grungy, overly tone mapped HDR photos that are what most people associate with the word HDR. So while I’ve talked to others who prefer the flexibility of applications such as Photomatix, I really enjoy CS5’s ability to create natural looking photos that most people wouldn’t know are HDR without being told. The extra detail and the quality of the light are worth using the HDR process for, and it can be done without ruining the natural quality of the image.
I enjoyed the O’Reilly Photoshop CS5 HDRI webcast. While I wish that Jack could have spent more time on individual tone mapping settings, it was evident from the text chat that many attending were completely new to HDR. More advanced detail would have been lost on them. Even so, it helped reinforce my knowledge of the HDR process in Photoshop CS5.
The webcast was very professionally presented and produced. O’Reilly is a top notch technical training provider.
A video of the Photoshop CS5 HDRI webcast has been made available on YouTube by O’Reilly.
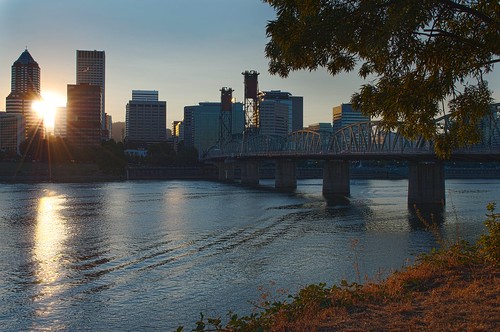
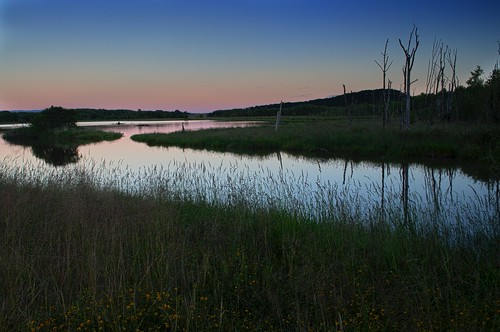
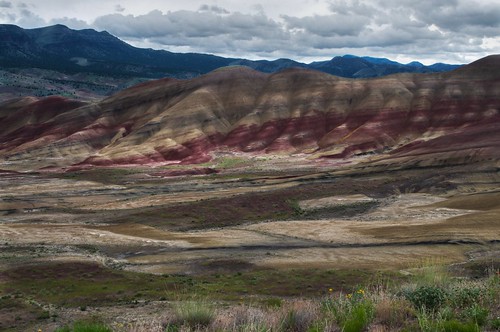
As for Adobe Photoshop CS5 itself, I’ll reiterate that while it may not be the most popular HDR tool with many photographers, I prefer it for its natural and subtle results. I’ve used it to create several HDR images that many people don’t realize are HDR unless I tag the image as such on flickr. Below are examples of some of my photos processed in HDR using Photoshop CS5.
The rating below is for the HDR capabilities of Photoshop CS5.

Thanks it was very useful for me