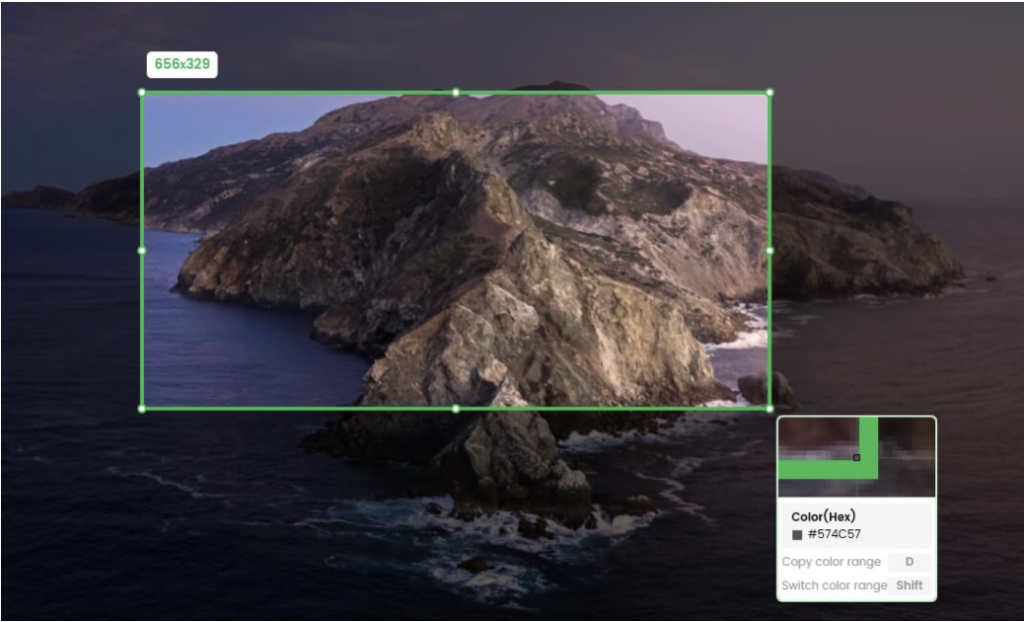
In the era of digital information, we often need to use screenshots to communicate. A picture is equivalent to a thousand words. You may need to take screenshots of specific portions of your computer screen for various reasons. Whether it’s for documentation, presentations, or troubleshooting, knowing how to take a screenshot of a portion of the screen can be a valuable skill. In this article, we will guide you through the steps to take a screenshot of a portion of the screen on Windows and Mac.
Firstly, both Windows and MacOS have built-in screenshot functions, and it’s very simple to use.
However, if you need more advanced features, there are third-party screen recorder apps available. Many of these apps have free versions, so you can try them out without any risk. These apps offer more possibilities, such as capturing a long screenshot or a part of your screen.
Now, let’s talk about how to capture a selected area of your screen.
Screenshot a Portion of the Screen [Windows & Mac]
Gemoo Snap is a lightweight and free screenshot tool that can assist you in providing feedback on designs, reporting bugs, or any other purpose that requires a screenshot. It offers several features that make it easy to capture and share your ideas. You can freely choose the area you want to capture, and you can take pixel screenshots without letting you miss any details.
One of its most notable features is the Scrolling Capture, which allows you to take full-screen or specific-area scrolling screenshots and stop at any point you need. Additionally, you can capture the visible part, a selected area, or any element you want on a webpage.
Gemoo Snap also offers a Quick Screenshot feature that can capture highlight moments instantly, such as a game or TV show. It can even upload to the cloud automatically with sharable links.
When providing feedback, Gemoo Snap makes it easy to add your ideas and context with texts, lines, or shapes. You can also hide sensitive information with mosaics. Furthermore, you can beautify your captures by adding backgrounds, rounding corners, and drawing shapes.
Finally, Gemoo Snap can recognize text on images (OCR) and help you extract uncopyable texts from images, videos, PDFs, websites, etc. You can capture and copy the text with ease.
Step 1. Free download Gemoo Snap on your computer. Then, please choose a function and tap on it.

Gemoo Snap Overview
Step 2. Please click and drag your mouse to customize the desirable region.

Screenshot a Portion of the Screen
Screenshot a Portion of the Screen on Windows
To take a screenshot of a portion of the screen on Windows, you can use the built-in “Snipping Tool” or “Snip & Sketch” app. Here’s how:
Way 1. Using Snipping Tool
- Open the Snipping Tool app (you can search for it in the Start menu).
- Click on “New” to start a new snip.
- Use your mouse or trackpad to select the portion of the screen that you want to capture.
- Once you’ve made your selection, release the mouse or trackpad button.
- The snip will be displayed in the Snipping Tool window, where you can save it as an image file.
Way 2. Using Snip & Sketch
- 1.Press “Windows” + “Shift” + “S” on your keyboard to open Snip & Sketch.
- 2.Use your mouse or trackpad to select the portion of the screen that you want to capture.
- 3.Once you’ve made your selection, release the mouse or trackpad button.
- 4.The snip will be saved to your clipboard, where you can paste it into an image editing app or document.
Screenshot a Portion of the Screen on Mac
To take a screenshot of a portion of the screen on a Mac, you can use the built-in screenshot tool. Here’s how:
Way 1. Command + Shift + 5
- Press “Command” + “Shift” + “5” on your keyboard to open the screenshot tool.
- In the screenshot toolbar that appears, click on the “Capture Selected Portion” button (it looks like a square with a dotted outline).
- Click and drag the crosshairs to select the portion of the screen that you want to capture.
- Once you’ve made your selection, release the mouse or trackpad button.
- The screenshot will be taken and saved to your desktop by default.
Way 2. Command + Shift + 4
Alternatively, you can use the keyboard shortcut “Command” + “Shift” + “4” to activate the built-in screenshot tool and then click and drag to select the portion of the screen that you want to capture.
After taking the screenshot, you can find it on your desktop (on Mac) or in the “Pictures” folder (on Windows), where it will be saved as an image file.
FAQs of How to Screenshot a Portion of the Screen
Q 1: What file format is the screenshot saved in?
A: The screenshot is saved as a PNG file by default, but you can change the file format in the settings of the screenshot tool.
Q 2: Can I take a screenshot of a video or game?
A: Yes, you can take a screenshot of anything that is displayed on your screen, including videos and games.
Q 3: Are there any limitations to taking screenshots?
A: Some applications or websites may prevent you from taking screenshots for security or copyright reasons. Additionally, screenshots may not capture certain types of content such as animations or videos
Conclusion
Taking a screenshot of a portion of the screen is a simple process that can be done on both Windows and Mac. By following the steps outlined above, you can easily capture the specific area of the screen that you need. This skill can be useful in various professional settings, so it’s worth taking the time to learn.
