Pixelmator Pro
Price: $60 U.S.
Company: Pixelmator
In March 2017, MyMac reviewed the image editing software Pixelmator. Since that time, the team at Pixelmator has been busy and they released a totally new software called Pixelmator Pro. Let’s see how this new version stacks against its little brother and how it compares to Photoshop CC.
Pixelmator Pro comes with a brand new interface, and one of the first things you’ll see is the single editing window. The main window also has tabs for editing multiple images in parallel. In the standard version, one of the things I had to get used to was the multiple palettes that were showing on screen; this issue is now mostly gone. There are still four floating palettes you’ll have to deal with: Colors, Info, Gradients, and Shapes, and sadly they cannot be docked anywhere. The Effects Browser that was available in the standard version as a palette can now be seen as a tool on the right.
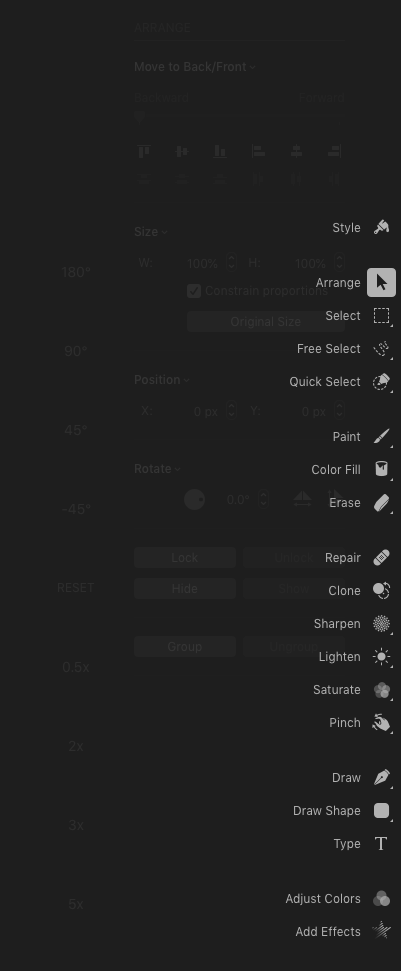
One of the major changes you may have to adapt to is the way the tools and layers are displayed. The tools are now on the right side of the main window while the layers are on the left. This is unusual if you come from Photoshop, but considering that other software such as Lightroom and Luminar have their editing tools on the right, it is consistent with some other workflow you may already have. The layers also have a handy auto naming feature when you drag an image into it.
When you click on a tool, you’ll see the tool parameters on the left of the tool selected instead of the top bar like in Photoshop and the standard Pixelmator. Some tools (Examples: Style and Arrange) are wider than others, which makes the edited image change size when we change to tools such as all the three Select tools (Select, Free Select, Quick select). I found the workaround to this behavior in the view menu, by disabling the Auto Center option.Â
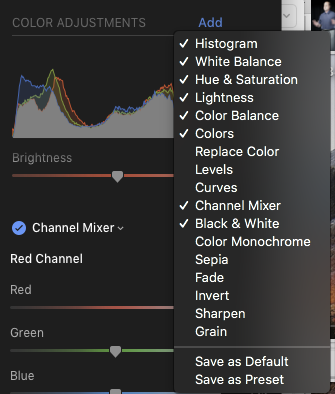
Some of the tool’s options can be customized, for example the Adjust Colors tool. In the Add drop down menu, you can add or remove the sections you want, such as a Curve adjustment, so you just see what you really need on screen. In this tool, you also have access to many Auto adjustments (White Balance and Lightness) that use machine learning techniques to edit photos. Machine learning was also used for the Repair tool to help remove imperfections or objects in an image (Adobe calls that feature Content-Aware).
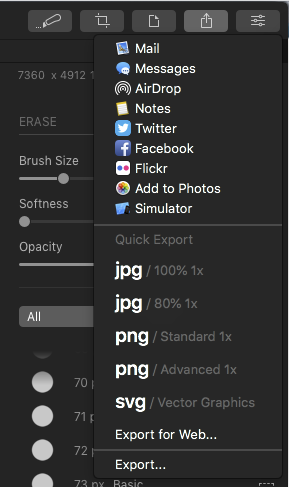
 In the Monsoon release of Pixelmator Pro (version 1.1), the Export for Web function got a very nice feature. You can now export your images in many formats (JPEG, PNG, and more) and create slices of that same image in multiple formats all at the same time. This can be useful if, for instance, you want to create a clickable part of an image or want to support different image types for different browser experiences (say full web versus mobile).
 Pixelmator Pro is still a work in progress. In version 1.0 of Pixelmator Pro, I was disappointed with the way layers were implemented, and it has been corrected in version 1.1. Another example is the standard version of Pixelmator had five Automator actions, but these cannot be found in Pixelmator Pro. I also could not open a document from Pixelmator Pro on the Pixelmator app for iOS on my iPad. If you use Apple’s Photos’ software, this integration is well done. The most recent release of Pixelmator Pro (Monsoon) also adds Touch Bar support for MacBook Pro.
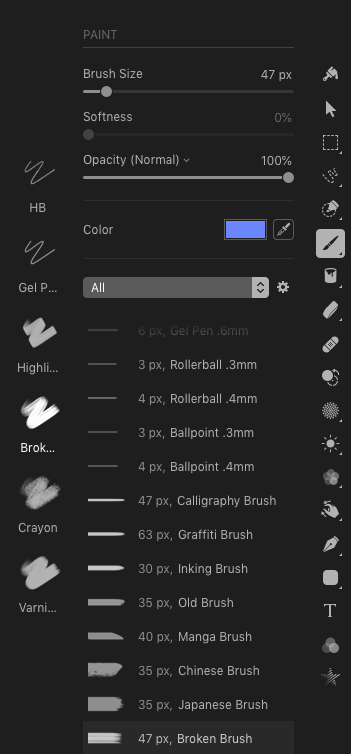
 Overall, I can say that Pixelmator Pro is probably the best Mac editing software I evaluated recently, especially for the price. There are some things that can still be perfected, but the current version is very useable and provides pro features that you’ll find very interesting in your daily photo editing workflow. I have not covered the functionalities for creators with the brushes and other paint tools. If you are looking for an alternative to Photoshop, you can’t go wrong with Pixelmator Pro.
MyMac Review Rating: 8 out of 10


Leave a Reply
You must be logged in to post a comment.