USB 3.0/eSATA Dual 3.5″ SATA III Hard Drive External RAID Enclosure with UASP and Fan – Black (Product ID: S3520BU33ER)
Price: $119 U.S.
Company: StarTech
I had a few hard drives sitting around on my desk for many months and I was looking for a way to put them to good usage. I saw this StarTech device that seemed to be a perfect fit for my requirement. When I received the unit I immediately put my two 1.5 TB Seagate drives in it and tested the unit’s capability.
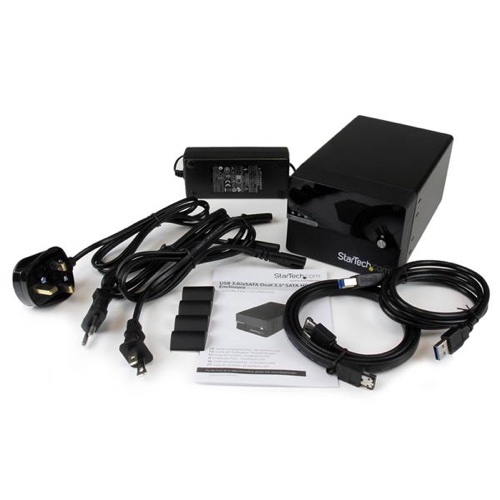
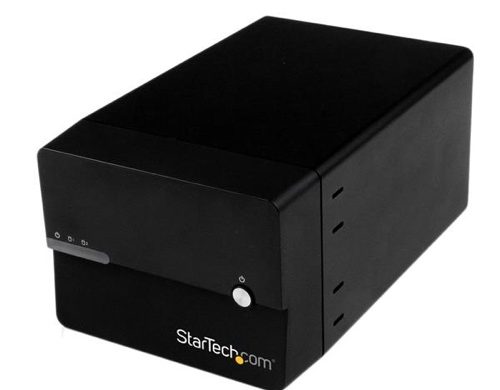
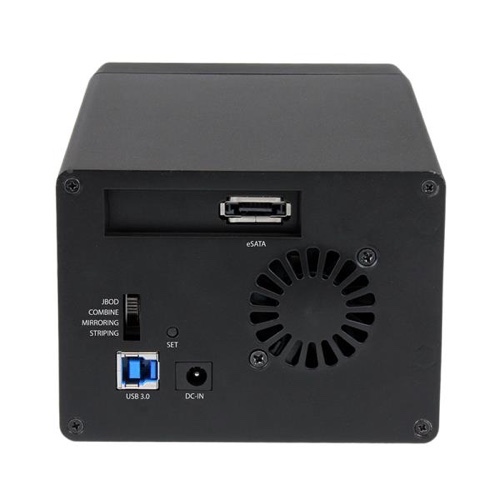 The enclosure supports USB 3.0 and eSATA for connectivity to a host computer. I tested the device with USB 3.0 as I do not have any computer with eSATA ports to test performance. This enclosure comes with a USB 3.0 and an eSATA cable in the box, as well as multiple power cords for most popular international standards. It can be populated with two 3.5″ SATA hard drives, not included. To install the drives, you simply remove one screw to the front panel, insert the drives, close the front panel, and you’re done.
 The external enclosure can be used in four different modes : JBOD, Combine (also called SPAN or BIG on some sites), Stripping (RAID 0) or Mirrored (RAID 1). Each mode can be selected by a switch on the back and the press of the SET button when powering on the device. Let’s explore what each mode can offer.
JBOD
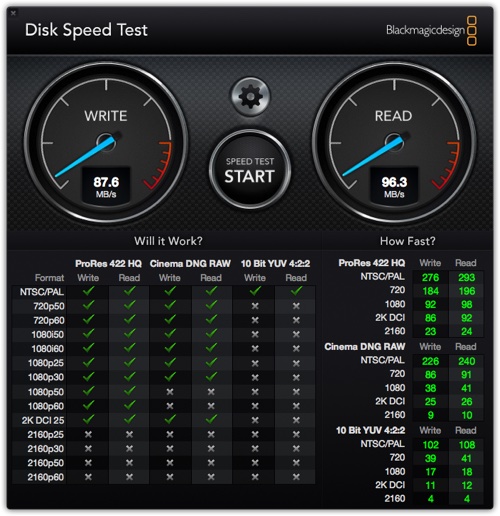
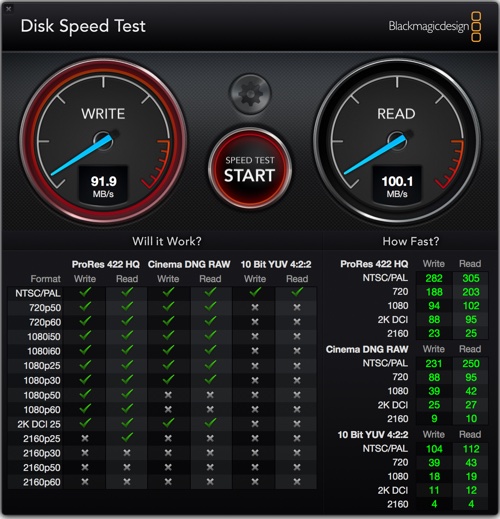
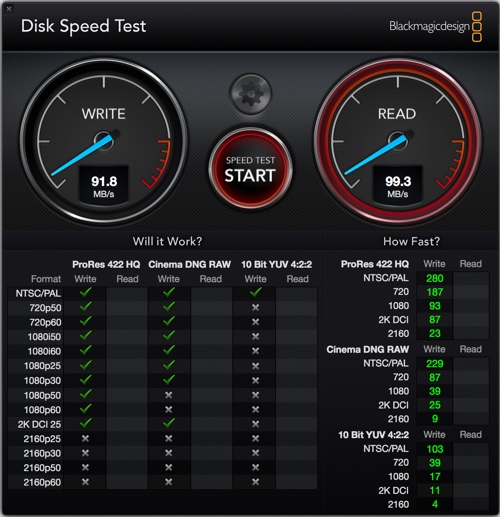
In this mode (default) the enclosure will place the two hard drives on your desktop as if they were totally different external devices, or JBOD (just a bunch of disks). In this configuration, each drive can be used for different purposes. For example, you can use one for Time Machine and the other one for a clone of your boot drive (using Carbon Copy Cloner or SuperDuper for example). In this scenario, the two drives can be any capacity as they are independent. Performance, as shown by the Blackmagic Disk test, will depend on each drive’s speed. Note that in this configuration, none of your data on the enclosure hard drive is protected against data loss.
RAID 0
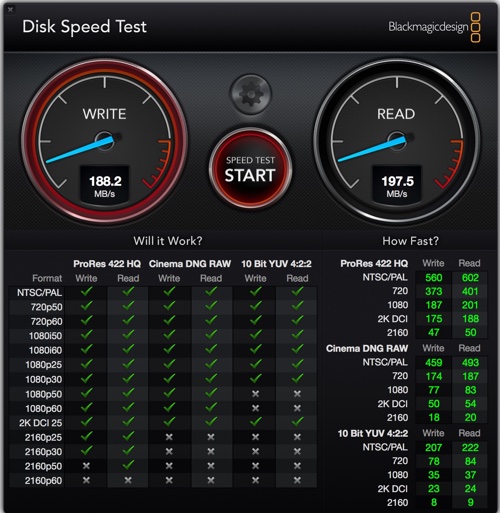
If you are looking for a disk performance increase, and have identical drives (same sizes), this configuration will give you the best results. The RAID 0 configuration lets you use all of your disk space with double the performance of the slowest drive in the enclosure. This mode will read/write data on each drive evenly, and it proves true in the Blackmagic test below. The host computer sees it as one volume, and the unit controls the data stream without any special configuration or drivers. In this situation, you’ll have to remember that if one drive fails, all data on both drives will be lost. Note also that if you have drives of different sizes, the volume size will be twice the capacity of the smallest drive.
RAID 1
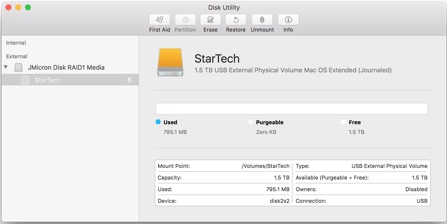
This mode is the safest available with this device: each hard disk is a copy of the other. If you lose one, your data is protected on the second drive. RAID 1 won’t give you better performance, nor slow your data transfer. As we can see below in the Blackmagic test, it offers similar performance to the JBOD mode. In this scenario the device speed will be driven by the slowest drive installed in the unit. The size of the volume will be equal to the smallest drive in the unit.
Combine
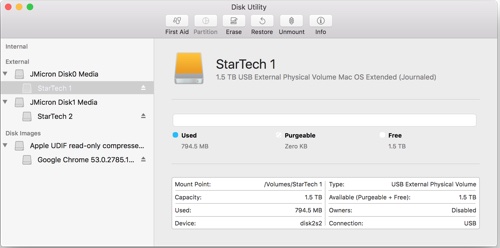
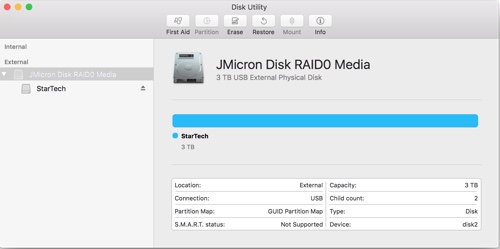
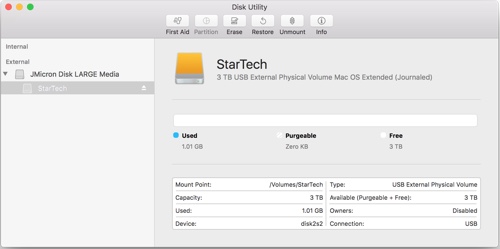
I kept this mode for last, because it was the one that had most interest to me. This configuration will give you a volume size exactly the size of both installed drives in the unit. In my case, I had two 1.5 TB drives, giving me a total of 3 TB. When the unit writes to the volume, each drive is written/read in sequential order: when HD1 gets full, data start to be written to HD2. This mechanism is all managed by the unit without any drivers or special configuration on the host computer.
One smart reader will probably say: “But RAID 1 would have given you the same capacity and better performance, right?” And that’s right. But suppose eventually I free up a drive that is 2 TB and another of 3 TB size—then I’ll get 5 TB in Combine mode, while RAID 1 will only give me a 4 TB volume (1 TB from the larger 3 TB drive will be lost).
Again, someone could ask why I do not buy new drives of similar sizes all the time. I have a NAS that can support drives of different sizes. When I buy new drives for it, I often look at the best size/value on the market. From time to time, it happens the drives I’m replacing in my NAS are of different sizes. In this scenario, the Combine mode will offer me the best volume size all the time.
It is important to note that if I swap one drive for another, all data will be lost on the volume. But my plan being to use the device as a local backup for my NAS data, it is a small price to pay. By having to reformat the volume and start a new backup, I’ll just have to make 200% sure my data is certified to be safe on my NAS. After all, it is only the backup I lose, not the originals, and the real nightmare is making sure the NAS upgrade is done properly.
Conclusion
The unit delivered by StarTech is a very nice build and is barely larger than the 3.5” drives inside it. It is easy to configure and can be set up in only a few minutes. The different hardware configurations available add lots of flexibility in a single unit. StarTech provides every cable you need to get started—bring your own drives, install them, and you’re ready to go. My main complaint about it is the noise of the fan. If you plan to use it close to your computer for daily work on files stored on the unit, you’ll probably find it annoying.
MyMac Review Rating: 8 out of 10

Leave a Reply
You must be logged in to post a comment.