OWC Aura SSD
Company: Other World Computing
Pricing:
480GB SSD alone – $347.99 USD
480GB Upgrade Kit – $399.00 USD
1.0TB SSD alone – $594.99 USD
1.0TB Upgrade Kit – $649.00 USD (Reviewed below)
I have owned a Mid 2013 13†MacBook Air (MBA) since 2014. I bought the MacBook Air for several reasons. I needed something light to carry since I also lug around a MacBook Pro issued to me from the company where I work. While I have a Mac Pro at home (Cheese grater version) I needed something portable so I could update my website while mobile, and quite frankly, something that would get me out of the home office. I do love working from my back porch during the summer.
When I bought this Air I choose to spend my money upgrading the processor to an i7, and the RAM to the max 8GB, rather than buying extra storage (128GB base configuration), something I always figured I would be able to upgrade myself. Months, and then years, went by with no viable options to upgrade the storage on this model Air. During that time I have had to manage that storage very carefully. I have kept a minimal amount of applications and documents on the MBA, no photos, no music, no video, and I even installed an SD card slot semi-permanent drive, taking the slot out of commission for me to use. Even though I managed my storage carefully, I was down to 31GB left.

Well, thanks to OWC, I no longer have this problem.
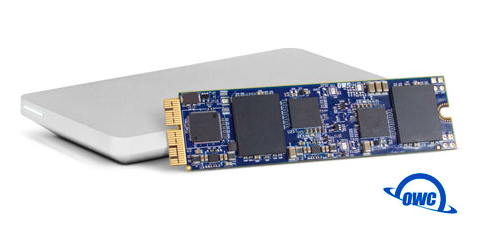
The OWC Aura SSD upgrade for Mid-2013 and later MacBook Air and MacBook Pro with Retina display, solves this problem.
The Aura SSD comes in a couple of different flavors. You can buy either a 480GB or 1TB SSD. Alternately you can buy the Aura Upgrade Kit which includes the “Envoy Pro†SSD enclosure for your old SSD drive.
This review will cover the Aura Upgrade Kit using the 1TB SSD.
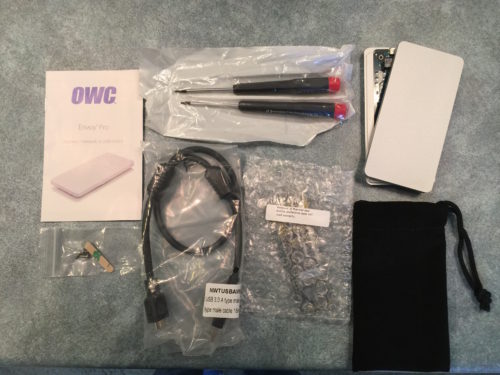
The kit comes with everything needed to perform the upgrade. You get Torx screwdrivers, the SSD of your choice, the Envoy Pro enclosure, a carry bag for the Envoy, and you even get a USB cable to hook the Envoy Pro up to any Mac.
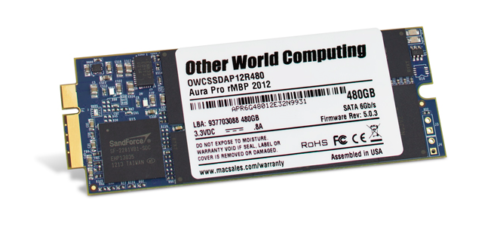
The Aura SSD is a tier-1 flash drive that gives you superior reliability, performance, and compatibility. There is nothing else you need to install, no software hacks or TRIM enablers. Plug the Aura into your MacBook Air, and it just works.
Can you do this yourself? Yes, you can. OWC provides a video of the entire process, which was very helpful, (See the video here)Â and their site also offers some suggestions for formatting your hard drive and migrating your data to your new drive.
I am going to explain how I upgraded my MacBook Air with Aura, and what resources I used to get there.

Installation:
The first thing I did was update the Mac OS on my Air, and any apps I was using regularly. Since the factory installed SSD will become a back up drive of sorts, I wanted it to be as up to date as possible.
Then I followed through with my weekly back-up process. I use Carbon Copy Cloner from Bombich software to clone my drives to externals. I have at least two back ups of every drive for every computer in my house. Your hard drive WILL fail at some point, the only question is when. Drive Failures Link. If you don’t have any kind of back up regimen, or a back up at all, this would be a great time to start. Frankly, it would be very difficult, and risky, to try this without at least one backup available. So don’t.
After backing up my original internal SSD, I ran Disk Warrior to make sure the directory was in perfect working order.
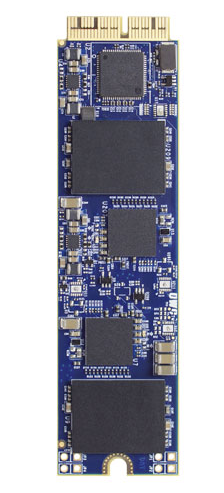
Next, I went to the OWC site and located the installation video.  After watching the video I prepared my work area and shut down my MacBook Air. Since I have a desktop Mac, it was very handy to load the installation video up and run it on that Mac as I worked through the process. Having said that, this installation is really pretty simple. Remove the screws from the backplate, unplug the battery, remove the single screw holding in the original SSD, remove the original SSD, plug in the new SSD (Heatsink facing up), replace the SSD screw, plug the battery back in, re-attach the back plate with the screws you removed, and you are done.
Before you do anything else, install your old SSD in the Envoy Pro enclosure, and close it up with the provided screws.
 Now that everything is closed, take the provided USB cable and plug the Envoy Pro into your MacBook Air and start it up. If everything was plugged in correctly, your Mac should start up from the Envoy Pro (your old SSD) and the Mac OS disk utility will automatically launch and ask you if you want to format an unknown drive. The drive that needs formatting is your new Aura SSD. Choose yes, and the settings I used were already chosen and correct: Mac OS Extended, GUID. Format the drive and name it something other than “Macintosh†so you won’t confuse the old drive with the new one.
After the drive was formatted (it took seconds) I launched Carbon Copy Cloner and set it up to clone my old SSD to the new drive. This will take some time depending on how many files you have on your old drive. Go grab a cup of coffee while you are waiting. After the cloning was completed, I ran Disk Warrior once again, this time on the new SSD drive. It came up with a “6†out of “10†which meant the directory needed rebuilding (not unusual for this situation). I let DW do its thing then I went into system preferences and chose to reboot using the new drive.
Fingers crossed, I waited.
My MacBook Air booted right up and once that was completed I ejected the Envoy Pro. I had to log back into Dropbox, and believe it or not, that was the extent of my post installation fixes. I went and checked how much disk space I now have. Just look at all of that free space!

Some items of note:
After using the Aura for a couple of weeks now, I’ve noticed a few things. I checked with OWC to understand if this SSD would draw more power. I can confirm that my battery does seem to drain a bit faster. Quoting direct from OWC, “I did hear back from our Prod Dev. team. We have been hearing that some users may see the new Aura drawing slightly more power than the stock Apple drive, and that individual cases will vary, based on Mac model and their activity. “
Once, during the last three weeks at start up, I got the big question mark. That means the Air could not find a valid hard drive to start up from. I pressed the power button to shut the Air down, then I restarted, and everything was fine. Odd? This only happened once during the many weeks I have been using the Aura.
Some other items to note:
Only use your old Mac SSD in the Envoy Pro.
Important Note: The OWC Envoy enclosure has been specifically designed for use ONLY with the factory SSD found installed in Apple MacBook Air and MacBook Pro with Retina display mid-2013 and later models. Do NOT attempt to install or use the OWC Aura SSD in the Envoy as you can damage the Aura drive, the Envoy enclosure or both and such damage is not covered under warranty.
I did some checking to make sure the installation of the OWC Aura does not void the AppleCare warranty on my MacBook Air. According to several sources I spoke with, one being a certified Apple Tech support specialist, it does not. However, I think it would be a good idea to keep that old Apple SSD safe and available in the Envoy Pro. Down the road, if I was having some problem with my Air, I would reinstall the old SSD before taking this Mac to Apple, just in case.
During the initial rollout of the Aura product OWC stated this SSD does not support bootcamp. Well that has changed with this new information directly from OWC. “OWC Dual Boot Enabler for Apple Boot Camp, available on OWCdigital.com within the Support section. This will provide Boot Camp support to a handful of OWC products, including the Aura SSD for mid-2013 and later MacBook Air and MacBook Pro with Retina display. Please check the OWC site for details.
The Aura comes with a three year limited warranty from OWC.
Bottom line:
This is first and foremost a capacity upgrade. Usually with OWC products, speed is the other benefit. So while this upgrade is geared towards capacity, I find my Air does feel a bit more zippy. Other than the things I’ve mentioned above, I’ve had zero issues with the Aura SSD product.
If you need more capacity for your MacBook Air, the Aura is the only way to get there, but that “only†way isn’t such a bad way to go.
MyMac Review Rating: 9 out of 10

Leave a Reply
You must be logged in to post a comment.