
Last week I discussed how to use Preview to do some minor image editing. This week I’m going to discuss a few more things you can do in Preview that you may not know about.
1. CHANGE THE FILE FORMAT
Have a file that is a jpeg and need a tiff or a bmp or another file type? Use Preview. Preview can read and convert a number of different file types. No need for a heavy-duty program like Photoshop here.
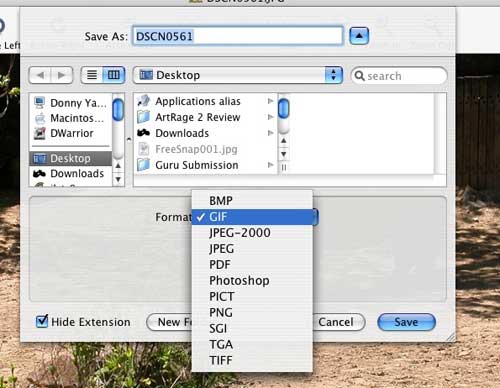
To convert the file into a different format, start by opening the file in Preview. Then choose “Save As” from the “File” menu. You will be presented with the typical save window. Where it says “Format” there is a pull-down menu with all the different file types preview can convert your image too. Some types will have different options. For example, you can select the quality of the image if you are saving as a jpeg. Higher quality translates to a better image with a larger file size, and visa versa. Choose the type you need and click save. The conversion is complete.
2. SCAN AN IMAGE DIRECTLY INTO PREVIEW
If you have a scanner connected to your computer, you can scan an image directly into Preview. To do this choose “Import Image” from the “File” menu with your scanner turned on and ready to go. A scanning display will open, and a Preview of your scan will load. You would then proceed to select and scan your image. This article is not about scanning, so if you have a scanner I am going to assume you know how to proceed.
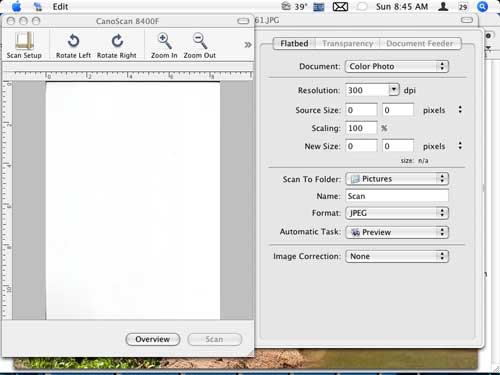
Once the image is scanned it will open in a Preview window, and you can use all of the features of Preview. Just make sure you save the image when you are done editing.
3. TAKE A SCREEN SHOT
If you need a picture of your Desktop, a window on your Desktop, or a portion of your Desktop, Preview will let you do this. This is a little tricky and not the best way for taking screen shots, but I’m going to discuss it anyway for those that want to try.
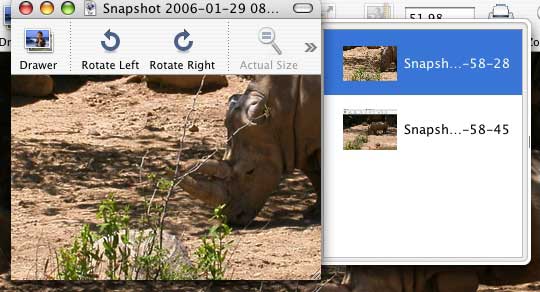
In the “File” menu there is a choice labeled “Grab.” “Grab” has a sub-menu of three items: “Selection,” “Window,” and “Timed Screen.” All three results in an image being saved to your desktop called “Snapshot” with a number attached to the name. They also result in the image being opened in a new Preview window.

Choosing “Selection” turns your pointer into a cross hair, and you need to draw a box around the portion of the screen you want to take a shot of. Drawing the box works just like you would draw a box for cropping. Once you are done creating the box, a snapshot is taken of that selected portion.

Choosing “Window” will allow you to take a photo of any window visible on the screen. Even if a corner of a window is visible, you can grab that window. When you choose “Window” your pointer will become a camera. As you move the camera over a window it will turn blue. When you have the window you want, click, and the picture is taken. The file will appear on your desktop, and a Preview window will open. The problem here is you must rearrange all of your windows before clicking “Window” so that the one you need is visible.
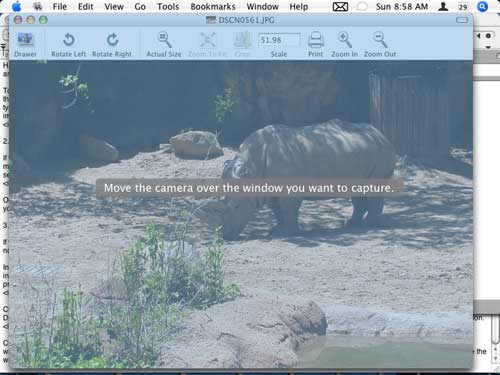
Choosing “Timed Screen” will put a timer on your screen. You have about 12 seconds to layout your screen for the picture. When time runs out, a picture of whatever is visible on your screen will be taken. Again, a file is created on your desktop and the Preview window opens.

Like I said, this is not the best method for taking screen shots. You basically are limited to what you can make visible on your screen while in Preview. There are much better ways for taking screen shots. (See Bakari’s article “15 Tips – Screen Capture.”)
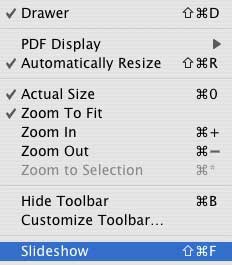
4. VIEW YOUR IMAGES IN A SLIDESHOW Did you just open a folder of images into Preview? Don’t want to click through one by one in the Drawer to see them all? Make a slideshow.
Choose “Slideshow” from the “View” menu and all of the images in the drawer will be turned into an iPhoto style slideshow. Just move your mouse so the controls come up, and click the “x” to return to Preview.

There you go, four tricks to get the most out of Preview. Believe it or not there is even more to Preview, but I’ll save that for another time.
Have a question about this article or another Mac problem? Email me. I’d love to help.

Leave a Reply
You must be logged in to post a comment.