
Have an image that you need rotated, cropped, or scaled? Maybe you don’t want to wait for Photoshop or iPhoto to load, or you don’t want to add the image to your iPhoto library. No problem, use Preview.
Many people don’t know that preview is more than just an image/pdf viewer. It has the tools built in to do all of the above-mentioned tasks and more!
First you need to open the image in Preview. The easiest way to do this would be to open Preview and choose “Open†from the “File†menu. Next, navigate to the file on your hard drive and select the file. Your image will open in a Preview window

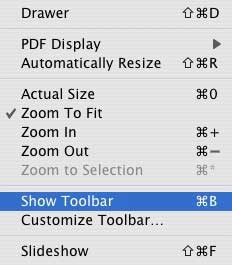
Before we begin, look above the image for a row of icons. This is called the Toolbar. If you do not see these icons, go to the “View†menu and choose “Show Toolbarâ€. The Toolbar is home to the various tools I will be discussing below.

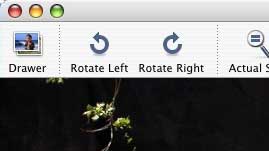
We’ll start with rotating. Rotating is simple. The default Toolbar includes the “Rotate Left†and “Rotate Right†tools. To rotate your image click on of these buttons, and your image will rotate ninety degrees in the direction chosen. You can keep clicking until you have the right position. If you need a rotation other than ninety degrees you will need a different program, like Photoshop or iPhoto 5 and above.
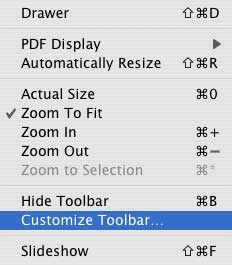
In the beginning of this article, I mentioned cropping and scaling. In order to use these features you have to add the respective icons to the Toolbar. To do this, go back to the “View†menu and choose “Customize Toolbar.†A window of icons will drop down that can be added to the Toolbar. You can add whatever you like, but for this article we are going to add “Crop†and “Scaleâ€. To add an icon to the Toolbar, click and hold that icon. Next, drag the icon to the Toolbar and wait for space to be made (two icons will separate). Once space is made, unclick and the new tool will drop into place. When you are finished adding tools, click “Done.†Your new tools will now be in your Toolbar.
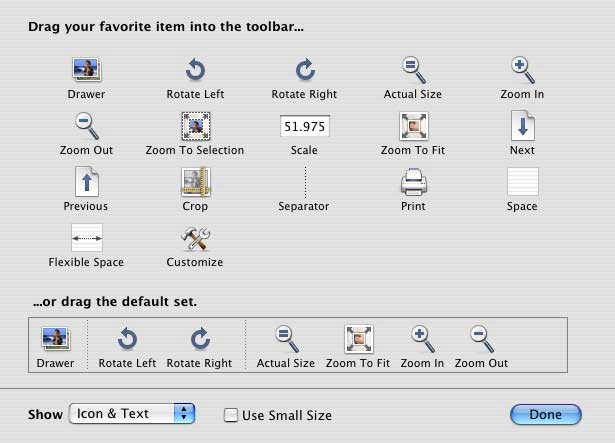
Now for cropping. You may notice that when you move the pointer onto your image it turns into a cross hair (+). To crop an image, move this cross hair to a corner you want to keep. Click and drag the cross hair to the opposite corner of the portion of the image you want to keep. A box will be drawn around that portion of the image. Unclick, and click “Crop†on your Toolbar. The unselected portion of the image will be removed and you will be left with the selected portion.
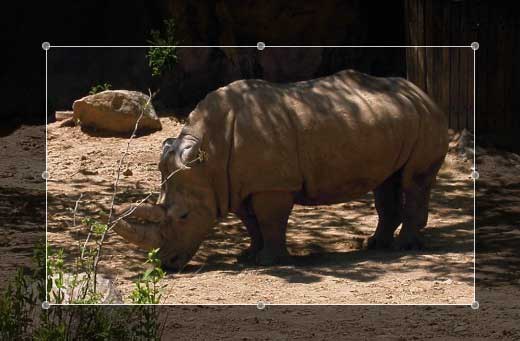
Just like in iPhoto, if you need to move the selection box before clicking “Crop,” you can. Move the pointer into the selected area and drag. The pointer will become a hand allowing you to move the selection box around. You can also resize the selected area be clicking and dragging the circles on the edges of the selected area. To create a perfect symmetrical square, hold down the Shift key before you click to create the selection.
Next up, scaling. Scaling could not be easier. Remember the “Scale†tool we added to the Toolbar? The numbers are the percent at which you are viewing the actual image. If the original image is huge, Preview will scale it down to fit into the window. For this reason, you might see a number other than 100 in the text field. You can make the image larger or smaller by typing in a new percent. Press return on the keyboard, and your image is resized.

Finally, Preview allows you to do some minor color correction to your image too. To do this go to the “Tools†menu and choose “Image Correction.†A window will open with sliders that will allow you to adjust the exposure, saturation, hue, and more. I am not going to discuss what each of these does, but experiment with your image until you get it just right.
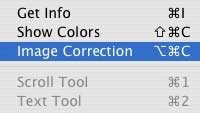
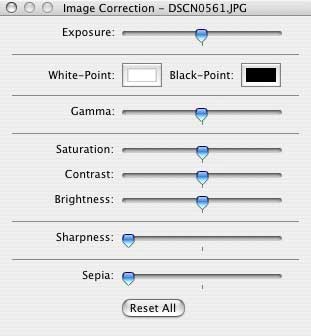
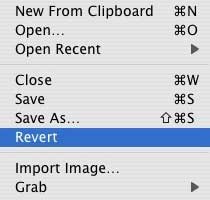
If you don’t like any of the changes you make along the way you can always choose “Undo†from the edit menu. You can even go back several steps in time if you want. If you want to go back to the original image, choose “revert†from the “File†menu. This will go back to the last saved version of the image.
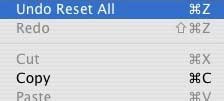
You now know how to edit an image in Preview. One last note: The images in this article show a photo being edited. You don’t have to use a photo, you can use a graphic file, a pdf, or any file Preview will open.
Have a question about this article or another Mac problem? Email me. I’d love to help.

Leave a Reply
You must be logged in to post a comment.